
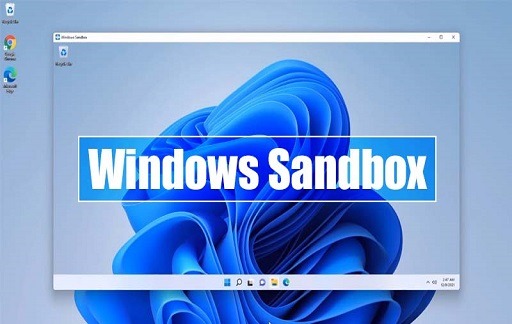
You can install and test untrusted applications or websites using the “Windows Sandbox” feature that is available on Windows 11. This feature generates a lightweight virtualization environment, which enables you to do so without the risk of affecting the primary installation of Windows.
In other words, Windows Sandbox is essentially a virtual machine that replicates the version of Windows 11 that is already installed on your computer and is created on demand by the Microsoft hypervisor.
This image is used to create the virtual machine. The key difference is that this particular virtualization setting is a one-of-a-kind creation that is extremely lightweight (only 100 MB) and is optimized for both functionality and safety.
Despite the fact that you are free to use any other virtualization technology, Windows Sandbox presents some advantages. To activate the instance, for instance, you do not need another product key, and the process of setting up the virtual machine does not require any additional effort or time on your part.
In addition, whenever you open the sandbox in Windows 11, a fresh copy of Windows 11 will be installed on your computer, and everything in the sandbox will be removed whenever you exit the feature.
This tutorial will take you step-by-step through the process of installing and using Windows Sandbox on Windows 11.
How to Enable Windows Sandbox on Windows 11
Before you can turn on Windows Sandbox in Windows 11, you must first turn on virtualization at the hardware level. This allows for the creation of an isolated environment in which applications can be tested.
You will need a computer operating system that is at least Windows 11 Pro, a processor that has two or more cores, and a memory capacity of at least 4 gigabytes. Additionally, although it is not required, you will also need an SSD storage device.
You may also like: How to boot into Safe Mode on Windows 11
Enable UEFI virtualization
To enable virtualization on the UEFI firmware on Windows 11, use these steps:
- Open Settings.
- Click on System.
- Click the Recovery page on the right side.
- Under the “Recovery options” section, click the Restart now button for the “Advanced startup” setting.
- Click the Restart now button again.
- Click on Troubleshoot.
- Click on Advanced options.
- Click the UEFI Firmware Settings option.
- Click the Restart button.
- Open the Advanced, Configuration, or Security page in the UEFI settings.
A quick note: it is possible that you will need to check with the manufacturer of your device to locate the page that includes the settings.
- Turn on the virtualization feature in the firmware.
A helpful hint is that the name of the feature might be displayed as “Virtualization Technology,” “Intel Virtual Technology,” or “SVM mode,” depending on the motherboard.
- Save the firmware settings.
- Restart computer.
After the above steps are completed, you can enable the Windows Sandbox feature on your computer.
Enable Windows Sandbox
To enable Windows Sandbox on Windows 11, use these steps:
- Open Settings.
- Click on Apps.
- Click the Optional features page on the right side.
- Under the “Related settings” section, click the “More Windows features” setting.
- Check the Windows Sandbox option.
- Click the OK button.
- Click the Restart now button.
Once the steps above are completed, you can run the sandbox to install and test applications without risking the main installation.
You may also like How to avoid conflicts between Antivirus and Windows Defender
How to use Windows Sandbox on Windows 11
Getting started using Windows Sandbox is straightforward, and here’s how:
- Open Start.
- Search for Windows Sandbox, right-click the top result, and select the Run as administrator option.
- Open File Explorer.
- Browse to the folder with the untrusted app you plan to test.
- Right-click the app installer and select the Copy option.
- In the Windows Sandbox desktop, right-click on the desktop and select the Paste option to transfer the installer.
A helpful hint: If you would rather use Microsoft Edge to download the application files, you also have that option.
- Double-click the installer (.exe, .msi, or any other) to begin the installation.
- Continue with the on-screen directions to complete the installation.
After you have finished all of the processes, you will be able to test the program in a secure environment without endangering the primary installation. This environment can be used not only for testing programs but also for securely accessing websites that are not trusted.
You can enter and leave full-screen mode on Windows Sandbox by using the keyboard shortcut Ctrl + Alt + Break or Pause. This allows you to see everything on your screen at once. If you are using high contrast mode, you can enable high contrast with the keyboard shortcut Shift+Alt+PrintScreen. If you are not using high contrast mode, this shortcut will not work.
Upon completing your testing, you can exit Windows Sandbox by clicking the X (close) button, similar to how you would close any other application. This action triggers the system to delete both the content you may have generated or configured and the virtual machine instance.
Would you like to read more about how to enable Windows Sandbox on Windows 11-related articles? If so, we invite you to take a look at our other tech topics before you leave!
![]()


