
Safe Mode is a system state in Windows that loads the bare minimum of components and prevents the launch of non-essential drivers and programs. You can use this to diagnose and fix issues with your desktop or laptop computer.
This mode is typically loaded when a device has hardware issues, or when startup, performance, malware, or network issues are present. Additionally, using Safe Mode to delete the update will help you solve the issue if you recently loaded an update that prevents you from loading the desktop.
Using the Start menu, Settings, System Configuration, and Command Prompt, Windows 11 offers numerous ways to start a computer in Safe Mode for any purpose.
In this guide, we will walk you through four different ways to boot Windows 11 in its Safe Mode environment.
Follow the steps below to boot Windows 11 in Safe Mode:
- Open Start.
- Click the Power menu.
- Press and hold the Shift key and click the Restart button.
- Click on Troubleshoot.
- Click on Advanced options.
- Click the Startup Settings option.
- Click the Restart button.
- Select the Safe Mode option (for example, Enable Safe Mode with Networking).
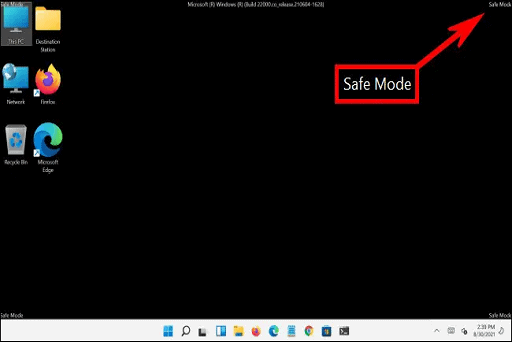
When you finish the procedures, Windows 11 will launch in Safe Mode, enabling you to analyze and address issues.
You may also like How to use Snap Assist on Windows 11 Device
How To Boot in Safe Mode with Settings on Windows 11
To boot in Safe Mode through the Settings app, use these steps:
- Open Settings.
- Click on System.
- Click on Recovery
- Under the “Advanced startup” section, click the Restart now button.
- Click Restart now again.
- Click on Troubleshoot.
- Click on Advanced options.
- Click the Startup Settings option.
- Click the Restart button.
- Select the Safe Mode option (for example, Enable Safe Mode with Networking).
After you complete the steps, Windows 11 will start in Safe Mode.
How to Boot in Safe Mode with System Configuration on Windows 11
Follow the steps below to boot a computer in Safe Mode through the legacy MSConfig experience:
- Open Start.
- Search for msconfig and click the top result to open the System Configuration app.
- Click the Boot tab.
- Under the “Boot options” section, choose the Safe boot option.
- Select the Network option to boot in Safe Mode with networking support.
- Click the Apply button.
- Click the OK button.
- Restart the computer.
The computer will start in Safe Mode after you finish the procedures. However, the system will always start in this manner unless the changes are undone.
The same procedures as above can be used to undo the changes after you’ve completed debugging the issue, except in Step 4, uncheck the Safe boot option.
You may also like: How to Install Linux Mint on WSL for Windows 11
How to Boot in Safe Mode with Command Prompt on Windows 11
Follow the steps below to start a device in Safe Mode with Command Prompt:
- Open Start.
- Search for Command Prompt, right-click the top result, and select the Run as administrator option.
- Type the following command to enable boot manager at startup and press Enter: Bcdedit /set {bootmgr} displaybootmenu yes
- Type the following command to restart the computer and press Enter: shutdown /r /t 0
- Press the F8 key in the boot manager to access the Startup Settings menu options.
- Choose one of the Safe Mode options.
After you complete the steps, the system will start in its minimal mode.
You can undo the changes by using the same instructions, but in step No. 3, use the “bcdedit /set {bootmgr} displaybootmenu no” command.
Would you like to read more about Safe Mode on Windows 11-related articles? If so, we invite you to take a look at our other tech topics before you leave!
![]()


