Microsoft has released its new Windows 11 OS, the latest version of its operating system, since the release of Windows 10 in 2015. The new Windows 11 for Mac comes with unique, amazing, and incredibly visual, great features and hood changes, and now you can install Windows 11 on Mac.
Important Features of Windows 11
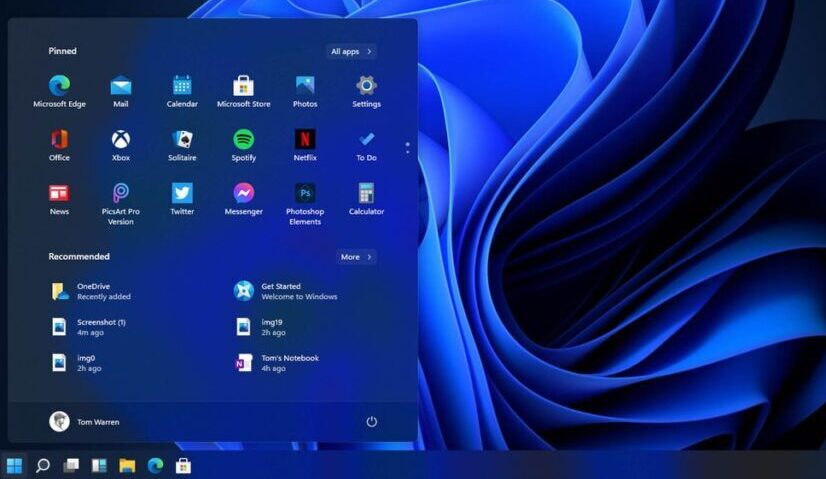
Windows 11 provides a calm and creative space where users can pursue their passions through a fresh experience. From a rejuvenated Start menu to new ways to connect to your favourite people, news, games, and content
It provides access to all the apps you need and multitasks with ease with tools like Snap layouts, Desktops, and a new, more intuitive redocking experience.
Users can connect instantly to the people they care about right from their desktop with Microsoft Teams. Call or chat for free—no matter what device they are on.
With Microsoft Edge and many widgets, you can choose from. You can quickly stay up to date with the news, information, and entertainment that matters most to you. Easily find the apps you need and the shows you love to watch in the new Microsoft Store.
Windows 11 has several changes, and most bugs in Windows 10 have been fixed in Windows 11. This intrigued users who do not even have Windows devices to have the interest of using Windows 11 on their Mac devices with M1 chips.
Download Windows 11 for Mac
However, it’s simple to download Windows 11 for Mac and run Windows on an Intel-powered Mac using BootCamp. This might be considered a complicated task to achieve with the newer M1-powered Macs, but you do not have to worry. UTM has you covered, and you can run Windows 11 conveniently on your Mac device.
UTM is not like other virtual desktop software because its primary purpose is to allow users with macOS to run virtual machines without stress. The UTM supports Intel and M1-powered Macs and emulates various processors such as MIPS, ARM32, RISC-V, and PPC. It is built on QEMU, which is a free and open-source virtualizer.
Let’s dive into the actual intent of the article, which is to show us how to download and install Windows 11 for Mac or MacBook using the UTM. Go to Microsoft’s official website to download Windows 11.
How to Install Windows 11 on M1 Mac
- Download the UTM application from the official website or App Store.
- Double click UTM.dmg.
- You have to drag and drop the UTM app icon from the UTM folder to the Applications folder.
- Open the UTM app
- Then, click Create a New Virtual Machine, enter your desired name for the VM, and click on Save.
- Next, go to the Systems tab, select x86_64 Architecture, and allocate a minimum of 4GB of RAM.
- Select Show Advanced Settings and allocate 4 CPU cores
- Then, open the Drives tab and select New Drive.
- Make sure you keep the Interface as IDE and assign at least 40GB of size
- Click Import Drive, select the Windows 11 ISO file, and then click Save.
- Now, start the virtual machine and install Windows 11 according to the steps mentioned during the installation process. Now you can enjoy Windows 11 on your Mac device.
Please note that the installation process may take a longer time as the emulation of the x86 operating system is relatively slow, and the whole process won’t be as easy as running on a Windows device.
Would you like to read more Windows 11-related articles? If so, we invite you to take a look at our other tech topics before you leave!


