How to Fix Error Code 0x80049dd3 in Windows 11: Users are typically able to type text (word processing) by speaking into the microphones of their personal computers when utilizing the voice typing capability that is included with Windows 11.
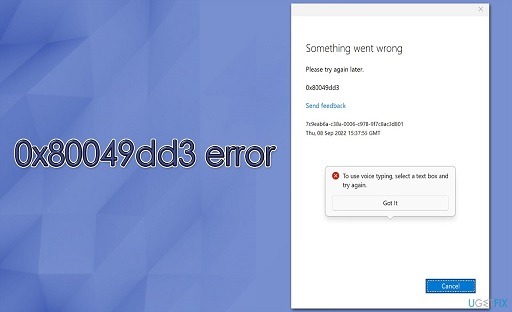
However, during the year 2022, a few users have reported encountering an error code of 0x80049dd3 when using voice typing. Whenever these users attempt to use voice typing, they are presented with the following error message: “Something went wrong: 0x80049dd3.”
Because of this, users are unable to input text by using voice typing. Even while you may always use your keyboard for word processing, folks who need to find a solution to this problem almost certainly prefer to dictate their thoughts using speech-to-text software. Fixing the Voice Typing problem 0x80049dd in Windows 11 can be done in the following manner.

Perform Troubleshooting for Recording Audio and Speech
Windows 11 comes equipped with two different troubleshooters, either of which could be useful in resolving the 0x80049dd3 error. Problems with sound recording can be fixed with the help of the Recording Audio troubleshooter.
Alternatively, you might try running the Speech troubleshooter, which is a somewhat more specialized troubleshooter designed to fix issues that are associated with the microphone. The following instructions will walk you through opening the recording troubleshooting tool:
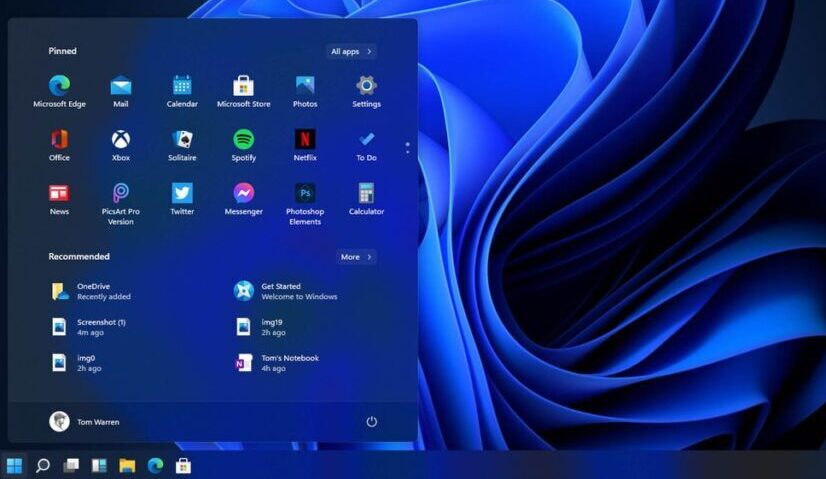
- Bring up Windows 11’s Settings app by selecting it in the Start menu.
- Scroll down the System tab and click Troubleshoot.
- Next, click Other troubleshooters to view that part of Settings.
- Select the Recording Audio troubleshooter’s Run option.
- Click Apply this fix for any solutions suggested by the Recording Audio troubleshooter.
You can also read: How to Fix Audio Issues in Windows 10
The troubleshooter for speech issues can be accessed through the Control Panel in Windows 11. The following is the procedure to follow in order to access that troubleshooter:
- Click Search on your taskbar.
- Type the search phrase Control Panel into the text box.
- Select Control Panel to view its window.
- Click Large icons on the Control Panel’s View by menu.
- Select Troubleshooting to bring up that applet.
- Next, click the View all link on the left of the Troubleshooting applet.
- Select Speech to open it.
- Press the Speech troubleshooter’s Next button to detect and fix issues.
Ensure that Windows 11 is up to date.
It has been reported that Microsoft is aware of the error code 0x80049dd3, which suggests that the software giant may have already made available a patch update that fixes the issue.
Windows is typically updated automatically; however, there may still be some available updates that your computer may not have installed. Therefore, ensure that all available Windows 11 updates are installed by doing the following steps:
- To access the Settings app, hold the Windows key and press I simultaneously.
- Next, click Windows Update to view that tab’s options.
- Press Check for updates to see what Windows 11 updates, if any, are available.
- Click the Download and install buttons for any available Windows 11 updates. That includes the Windows 11 22H2 build update if it is available for you.
- Select Advanced options > Optional updates to view other patches.
- Then select the checkboxes for updates listed there and click the Download and install options.
Make sure that the settings for your microphone are correct.
The Settings app in Windows 11 contains settings for enabling microphone access; these choices are required for voice typing to function properly.
Make sure that the access setting for the microphone is turned on in each of the applications that you intend to use for voice typing. Access to the microphone can be enabled in Windows 11 in the following manner:
- Open up Settings from the Start menu or with that app’s Windows + I keyboard shortcut.
- Then select Privacy & security in Settings.
- Next, click the Microphone navigation option.
- Toggle on the Microphone access option if it is disabled
- Turn on the Let apps access your microphone setting.
- Make sure the microphone access options for all apps you need to utilize the mic with are turned on.
It is also recommended that you try configuring the microphone once more from within Settings. To accomplish this, go to the Settings menu and select the option labeled Time & Language. To begin configuring microphone voice recognition, click the option that says “Get started.” After that, follow the instructions to set up the system.
Make Sure That Your Microphone’s Driver Is Up to Date
You might need to fix issue 0x80049dd3 because the driver for the microphone on your personal computer is either out of date or corrupt. Running a scan with a third-party program like Driver Booster is a simple approach to determine whether or not that is the situation on your computer.
If Driver Booster, or alternative software, shows your microphone’s driver needs updating, you can select to update it from there.
You can also read: Top 10 Mac Troubleshooting Tips to Avoid Hard Drive Failure
Create a Brand-New User Account for Yourself
Creating a new user account is one of the methods that has been confirmed to work the most frequently for the problem code 0x80049dd3. It would appear that a problem with the user’s account is the source of this error. You can try creating a new user account and then switching to that account by following these steps:
- Right-click Start and select the Power User menu’s Settings shortcut.
- Next, click the Accounts tab.
- Select the Family & other users navigation option.
- Click Add account for the Add other user option
- Select the I don’t have this person’s sign-in information option on the Microsoft account window.
- Next, click Add a user without a Microsoft account.
- Fill in the user account name and password boxes.
- Select Next to set up the account.
- Click the new account’s down arrow in Settings to expand it.
- Press the Change account type button for your new account.
- Select the Administrator option on the Change account type window, and click OK to save.
- Sign out of Windows 11 and log in to the newly created user account.
- Try using voice typing in your new user account.
In the event that this solution is successful, you will be able to move any user files over to the new account. To accomplish this, you will need to use the hotkey combinations for “Ctrl + C” and “Ctrl + V” to copy all of the data from an older user account folder and then paste it into the new user account folder.
You are able to copy data from your previous account into your new account at the following paths for folders:
Restart the connection to your network
Problems with the connection to the network are still another probable source of the error 0x80049dd3. Therefore, some users may be able to fix this issue by resetting the components of their network. You can restart your network adapter by navigating to Settings and following these steps:
- Bring up Settings, and select the Networks & internet tab from there.
- Select the Advanced network settings navigation option.
- Click Network reset to proceed.
- Select the Network reset option and click Yes to confirm.
- Restart Windows 11 after resetting the network.
- Then you’ll need to reconnect your PC to the internet.
You can also read: How to Fix Windows Update Error Code 80244019
Restored Support for Voice Typing in Windows 11
The alternative solutions that were provided for error 0x80049dd3 in Windows 11 should allow you to successfully resolve the issue. Changing user accounts will fix the problem in many instances, which are the ones that involve Windows user accounts.
Alternatively, you can attempt to resolve a corruption error in an existing user account by employing tools such as DISM, SFC, and System Restore. Once you have addressed the issue associated with error 0x80049dd3, you should be able to restart speech-to-text voice typing.
Would you like to read more about how to fix error code 0x80049dd3 in Windows 11-related articles? If so, we invite you to take a look at our other tech topics before you leave!
Use our Internet marketing service to help you rank on the first page of SERP.


