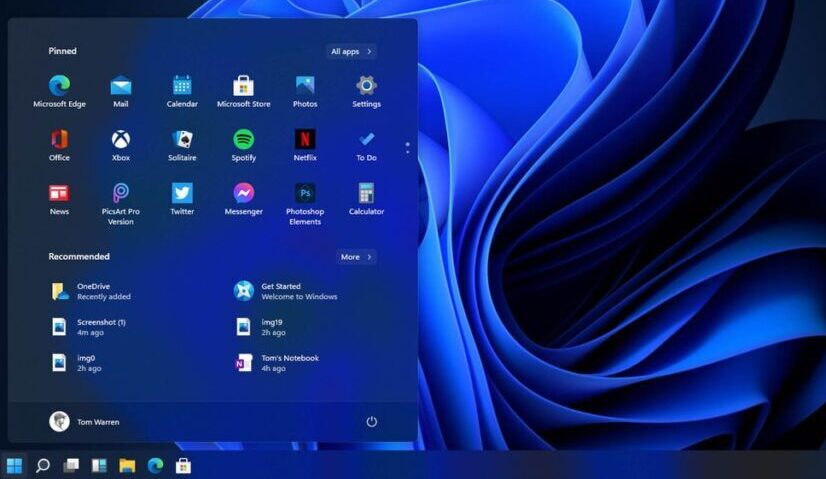
You may run multiple instances of Windows 11, older versions of Windows 11, and operating systems derived from other platforms, such as Linux, on Windows 11 thanks to a technology called virtualization.
The support also gives you the ability to enable alternative virtualized experiences, such as Windows Subsystem for Linux (WSL) and Windows Subsystem for Android (WSA).
Even though Windows 11 includes support for virtualization, you will likely need to explicitly enable it in both the Unified Extensible Firmware Interface (UEFI) firmware and the settings of the operating system. This is the case in the majority of situations.
This article will take you step-by-step through the process of enabling all of the capabilities and components on Windows 11 that are necessary to allow virtualization.
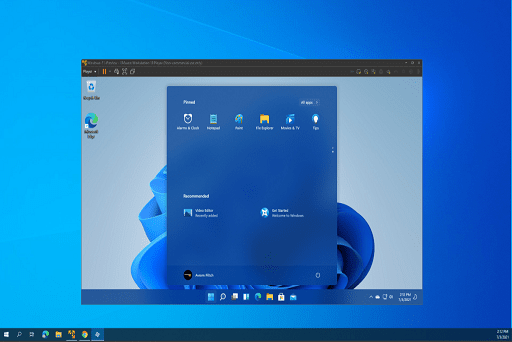
How to Enable Hardware Virtualization on Windows 11
Here is how to enable hardware virtualization on Windows 11:
- Open Settings.
- Click on System.
- Click the Recovery page on the right side.
- Under the “Recovery options” section, click the Restart now button for the “Advanced startup” setting.
- Click the Restart now button again.
- Click on Troubleshoot.
- Click on Advanced options.
- Click the UEFI Firmware Settings option.
- Click the Restart button.
- In the UEFI settings, open the Advanced, Configuration, or Security page
You may also like: How to password folder on Windows 11
Note quickly: If you need assistance locating the setting, you may need to check with the producer of your hardware to determine the position of the parameter that will enable the feature.
- Turn on virtualization.
A quick note: the name of this function might be “Virtualization Technology,” “Intel Virtual Technology,” or “SVM mode,” depending on the motherboard. However, the name might be something else entirely.
- Save the settings.
- Restart computer.
After you have completed the steps above, the computer will have support for virtualization features on Windows 11.
How to Enable Software Virtualization on Windows 11
After virtualization has been activated at the hardware level, you will be able to activate the virtualization components that are included with Windows 11 or install other solutions, such as VMware. (To install VirtualBox from Oracle, it is not necessary to enable virtualization in either the hardware or the software in advance.)
Follow these steps on a computer running Windows 11 to enable the software virtualization elements:
- Open Settings.
- Click on Apps.
- Click the Optional features page on the right side.
- Under the “Related settings” section, click the “More Windows features” setting.
- Check the Hyper-V option to enable the Microsoft virtualization elements and the tools to create and run virtual machines on Windows 11.
- Check the Virtual Machine Platform option to enable the virtualization components to set up other virtualization solutions, such as Windows Subsystem for Linux (WSL), Windows Subsystem for Android (WSA), or another software that requires this technology.
- Check the Windows Hypervisor Platform option to add an extended user-mode API for third-party virtualization stacks and apps.
Note quickly that it is quite unusual for regular users to turn on this feature. In most cases, the only time you will need to activate this feature is when you are configuring a solution that calls for its use.
- Click the OK button.
- Click the Restart now button.
When you have finished going through the steps, you will be able to use the Hyper-V manager to create virtual machines. Depending on the option you choose, you can install additional platforms and solutions such as WSL and WSA.
You may also like: How to Run any Android apps on Windows 11
Would you like to read more about how to enable Virtualization on Windows 11-related articles? If so, we invite you to take a look at our other tech topics before you leave!
![]()


