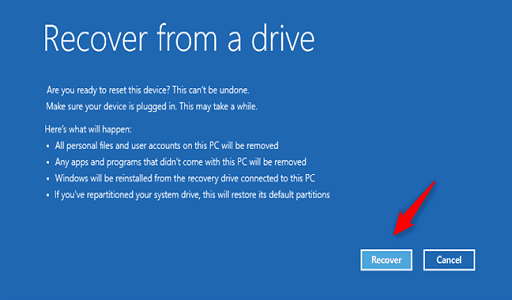
Windows Recovery Drive Tool: When things go wrong with your Windows computer, you can always rely on a recovery disk to help you out. Because of this, having a recovery disk makes it simple to bring your device back to life if a critical system failure has occurred.
You will need to utilize the Windows Recovery Drive software to create a recovery drive for your computer. As a result of this, in the following paragraphs, we will demonstrate the many methods by which you can access this application so that you can safeguard your data whenever it is required.
Run Command Dialog Box
The Run command dialog box is a fantastic utility that enables users to access virtually any programs that are available on Windows. It’s interesting to note that the Run command dialog box can also be used to launch apps that are not part of Microsoft.
Now, here’s how to utilize this tool to launch the application known as Windows Recovery Drive:
- Press Win + R to open the Run command dialog box.
- Type RecoveryDrive and press Enter to open the Recovery Drive app.
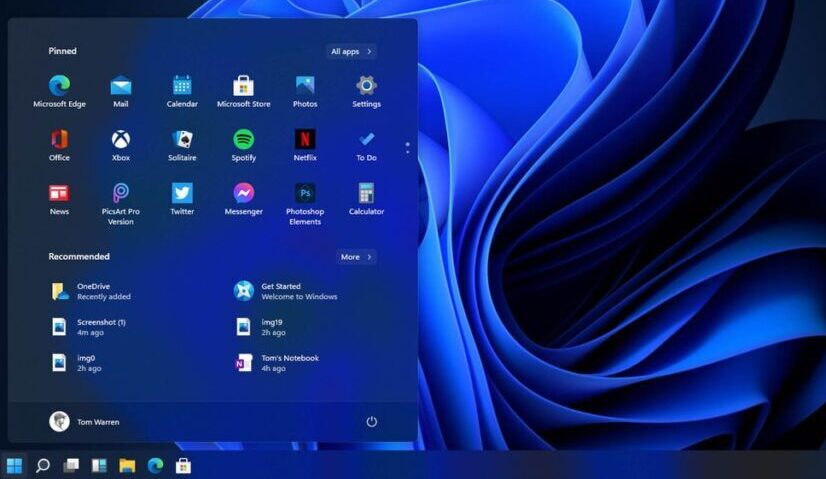
Use the Start Menu
Have you run across any problems while utilizing the search bar in the Start menu? In that case, the Recovery Drive utility can be accessed through the Start menu on your computer.
The following is a list of the steps that you need to follow:
- Press the Windows key or click the Start menu icon on the taskbar.
- Scroll down on the menu items on the left and then click the Windows Administrative Tools folder.
- Locate and select the Recovery Drive app.
Use the Search Bar in the Start Menu
The search bar in the Start menu makes it extremely simple for you to launch virtually any application present on your personal computer, including programs not developed by Microsoft.
Using the search bar in the Start menu, the following steps can be taken to access the Windows Recovery Drive app:
- Press the Start menu search bar icon on the taskbar or press Win + S.
- Type Recovery Drive and then select the Best match.
Use the File Explorer Address Bar
There is no question that Microsoft’s File Explorer is one of the most effective tools for managing files. However, were you aware that the address bar in File Explorer may be used to launch a variety of applications?
To launch the Windows Recovery Drive tool, you can use this tool in the following:
- Press Win + E to open File Explorer.
- Type RecoveryDrive in File Explorer’s address bar and press Enter.
Make use of the Control Panel
In the same way that the system settings may, the Control Panel on your Windows computer can assist you in diagnosing and fixing a variety of problems. In addition to that, you may use this tool to access a variety of different programs.
Using the Control Panel, you can launch the Windows Recovery Drive application in the following manner:
- Press Win + R to open the Run command dialog box.
- Type Control Panel and then press Enter.
- Click the View by drop-down menu and select Large icons.
- Scroll down and select Recovery from the list.
- Select Create a recovery drive on the next screen to open the Recovery Drive app.
Use the System Settings
You may always use the system settings to troubleshoot your computer or repair the applications that are currently installed on your device. You’ll be happy to discover that the settings for the system can also assist you in accessing a variety of applications.
Let’s have a look at the different ways that the system settings can be used to launch the Windows Recovery Drive app:
- Press Win + I to open the system settings.
- Type Recovery Drive in the search box and then click the relevant option.
Search for the System32 directory for the Recovery Drive
Did you know that the System32 directory contains files that allow you to easily access a variety of apps? These files are called executable, or EXE, files.
Let’s have a look at the steps that need to be taken in order to launch the Windows Recovery Drive app from the System32 folder:
- Press Win + E to open File Explorer.
- Select This PC on the left-hand side. From there, double-click on the Local Disk (C:) option on the right-hand side.
- Double-click on the Windows folder.
- Scroll down and double-click on the System32 folder.
- Locate the RecoveryDrive file and double-click on it to access the Recovery Drive app.
You can make things simpler for yourself by pinning the executable (.exe) file for RecoveryDrive to your computer’s taskbar. In this way, the Recovery Drive software will always be within easy reach for you, no matter where you are.
Right-click on the RecoveryDrive file that is located in the System32 folder, and then select the option to Pin to the taskbar from the context menu that appears. This will allow you to pin the Recovery Drive application to the taskbar.
Use Microsoft Task Manager
You can forcibly close Windows programs with the help of the Task Manager, or you can use it to examine how well your computer is doing overall.
However, you can also force close Windows apps without using the Task Manager. Now, the uplifting news is that this tool may also assist you in opening a variety of different applications.
Let’s have a look at the different ways that the Task Manager can be used to launch the Recovery Drive app:
- Press Ctrl + Shift + Esc to open the Task Manager.
- Click the File tab in the top-right corner.
- Select Run new task.
- Type RecoveryDrive in the search box and press OK to access the Recovery Drive app.
Use the Command Prompt or PowerShell
Whenever you need to modify specific settings or troubleshoot system issues, you can turn to the Command Prompt or PowerShell. Now that we have these tools at our disposal, let’s explore how to employ them to initiate the Recovery Drive application.
First things first, let’s have a look at how to launch the Recovery Drive software by using the Command Prompt:
- Type Command Prompt in the Start menu search bar.
- Right-click on the Best match result and select Run as administrator.
- Type the following command and press Enter to open the Recovery Drive app.
                  RecoveryDrive

Alternatively, you can open the Recovery Drive app using PowerShell.
Here are the steps you need to follow:
- Type Windows PowerShell in the Start menu search bar.
- Right-click on the Best match result and select Run as administrator.
- Type the following command and then press Enter to open the Recovery Drive app.
Use a Recovery Drive Desktop Shortcut
Using a shortcut on your desktop to launch the Recovery Drive application is one of the most convenient ways to do so. If, on the other hand, you do not have a shortcut to the Recovery Drive, then you can establish one by following these steps:
- Press Win + D to access the Windows desktop.
- Right-click on a blank space on the desktop and select New > Shortcut.
- Type %windir%\system32\RecoveryDrive in the location box.
- Press Next to continue.
In the Name box, type Recovery Drive App or something else of a similar nature. From that point, press the button labeled Finish.
Using the shortcut you’ve created on your desktop, you can now open the Recovery Drive software with ease. Put simply, pinning the desktop shortcut to the taskbar will make it far more convenient to use.
How to use the Recovery Drive application on your device
If you wish to make a recovery drive for use with Windows, the software known as Windows Recovery Drive is the tool you need to use. You can use any of the approaches that we’ve discussed here to get instant access to this app.
Check out the Windows Recovery Environment tool if you’re looking for additional ways to diagnose and fix issues with your own computer.
Would you like to read more about Windows Recovery Drive Tool-related articles? If so, we invite you to take a look at our other tech topics before you leave!
![]()


